...Return To Mine & Other Bonneville Car Construction Pages
.Previous Page...............B'ville Car Index Page.........................Next Page
...............-- Bottom Rear Body Mounts - Part II --.................
.................. .
.
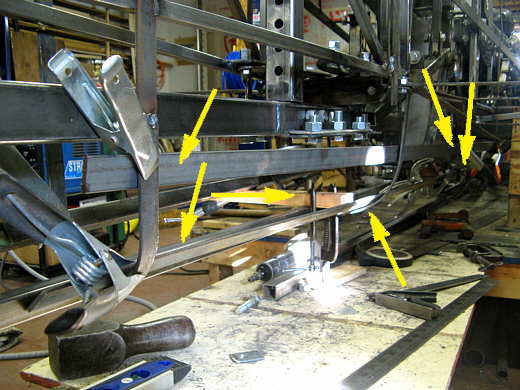
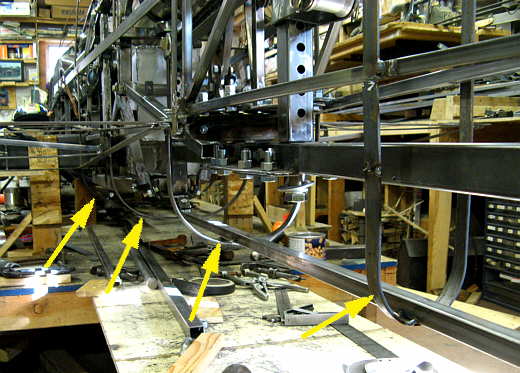
On this page the rear body mounts will be finished. The 4 arrows above pointing down point at a temporary pieces of strap (top) and square tubing (bottom) that I'm using to bend the bottom rib to. They act as a guide. The piece of wood (horizontal arrow at the middle) is pushing out slightly on the bottom piece of square tubing to give a slight curve to the body shape.
.................. .
.
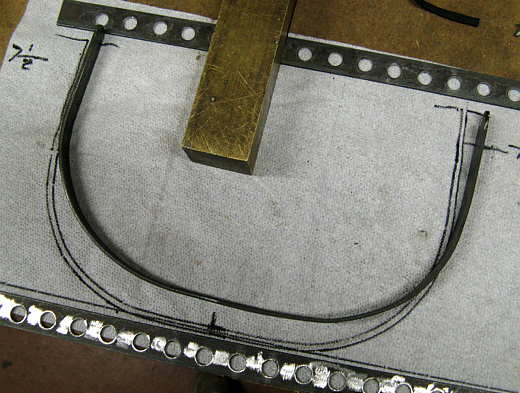
Here again once I determined the shape of one side of the rib I traced it on the paper towel then flipped it over and traced it again and then bent the other side to match to pattern of the first side.
.................. .
.
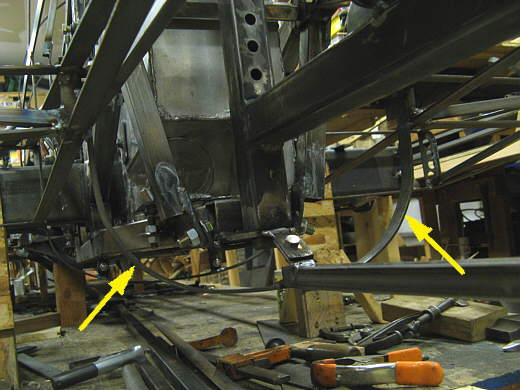
The rib was a little long on the top to make it easier to make and fit. Once it fit I cut the tops down to the right height and welded it in and mounted a bottom center tab to locate it there off the back of the square tubing running fore/aft on the bottom.
.................. .
.
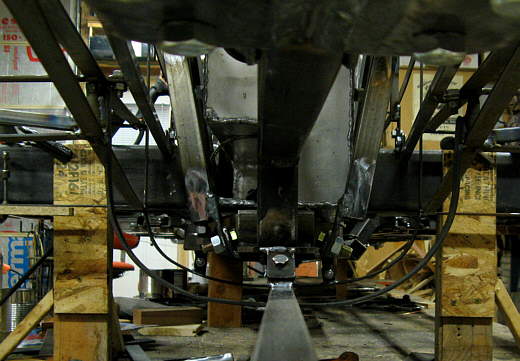
Here is the view looking forward on the car. It gives you a better idea of the rounded bottom of the car.
.................. .
.
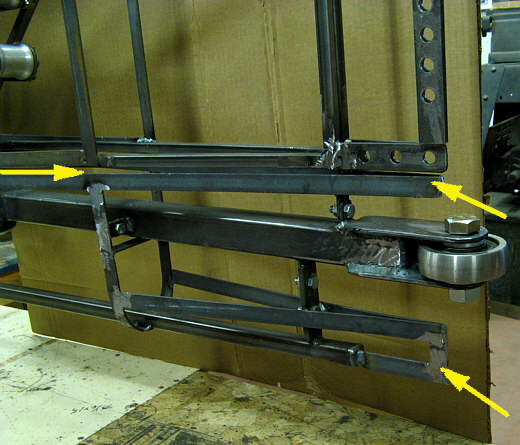
Next I followed the same procedure to make the final rib ( the second arrow from the right). The arrows point to the 4 ribs that are now in place on the bottom back.
.................. .
.
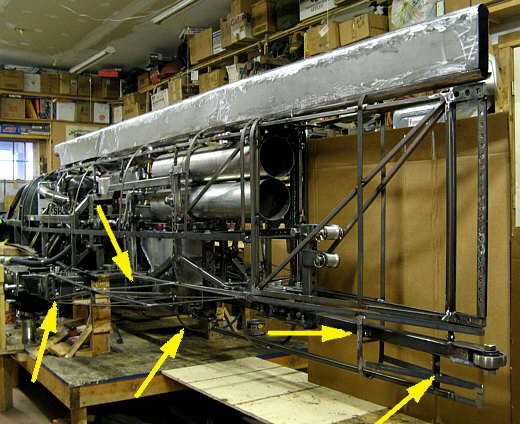
The two right arrows point to the very back bottom of the body mounts. Notice how they follow the door contour above them. The left arrow points to where the bottom rib use to be attached to the door. It was cut loose and a horizontal piece of strap defines the area just below the door now.
.................. .
.
The arrows point to the progress on the rear body mounts that has taken place over the past 3-4 pages.
.................. .
.
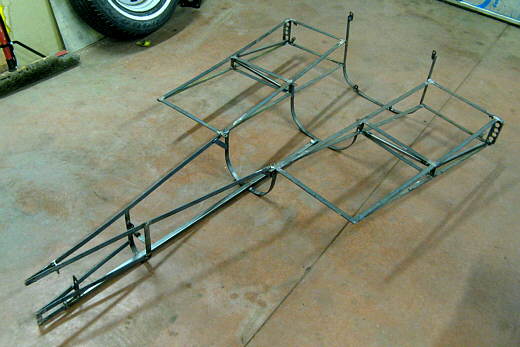
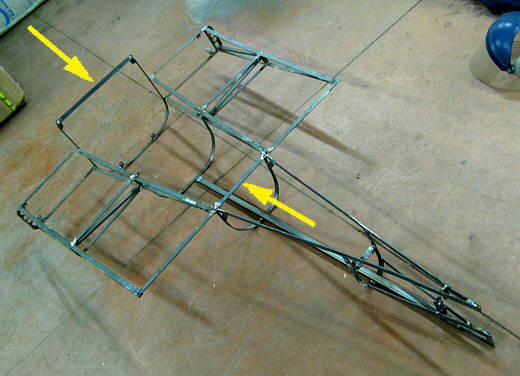
This body mount shell comes off the car in one piece. Hopefully I'll be able to skin some of it off the car, especially the hard to get at bottom. If anyone is interested this assembly weighs 22 lbs.
.................. .
.
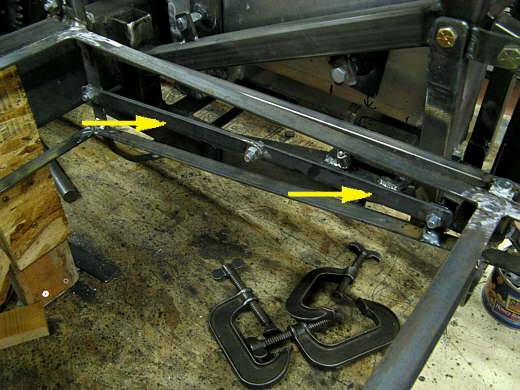
I added two temporary cross braces to take the flex out of this area when it is off the car.
.................. .
.
The two braces are bolted together and bolted on the car at the rear of the pods when not in use (see arrows).
Ok, time to start skinning the back of the car!!
..............................................................Next Page